Setup
The setup to extract data from Sharepoint is straightforward. You need to authenticate, select files and then adjust the data that we’ll extract if needed.1
Authenticate
Start by clicking the “Authenticate with Microsoft” button. This will open a new tab where you can sign in with your Microsoft account.After signing in, you’ll be redirected back to the Less page. We’ll now fetch your SharePoint directories and sites. Once that’s done, you can browse and select the files you want to extract.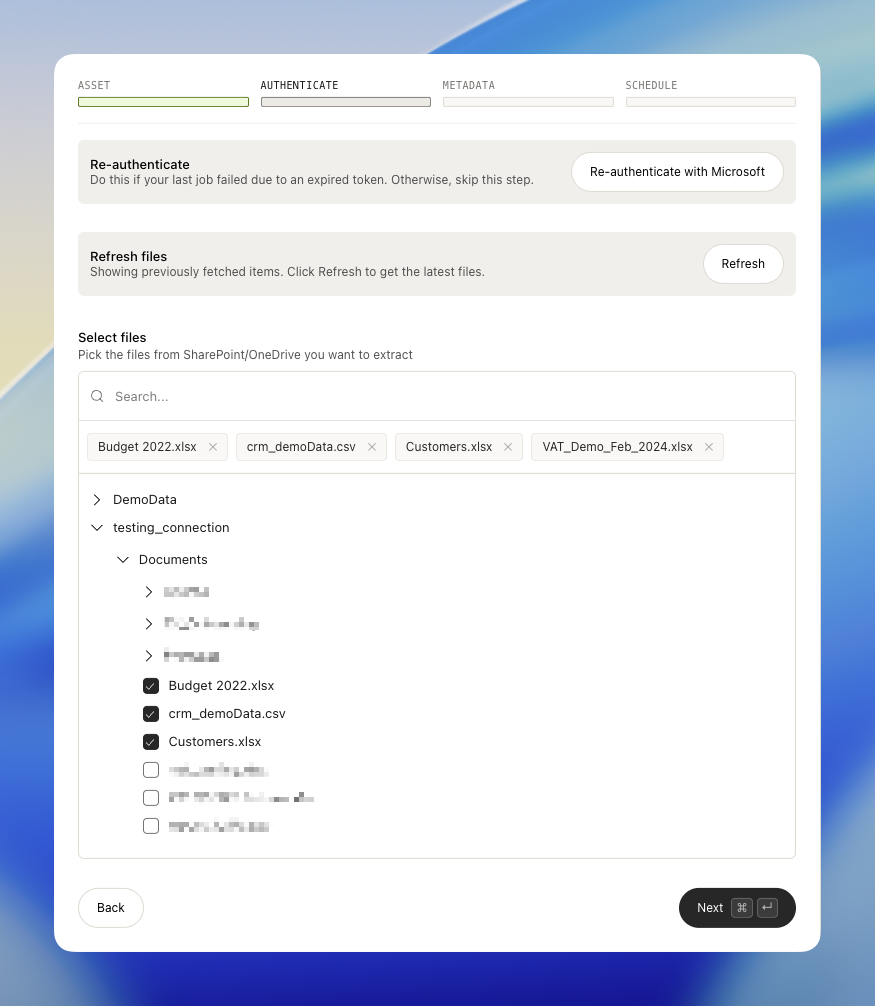
2
Metadata
In the second step, you see each of your files as expandable items. It looks like this: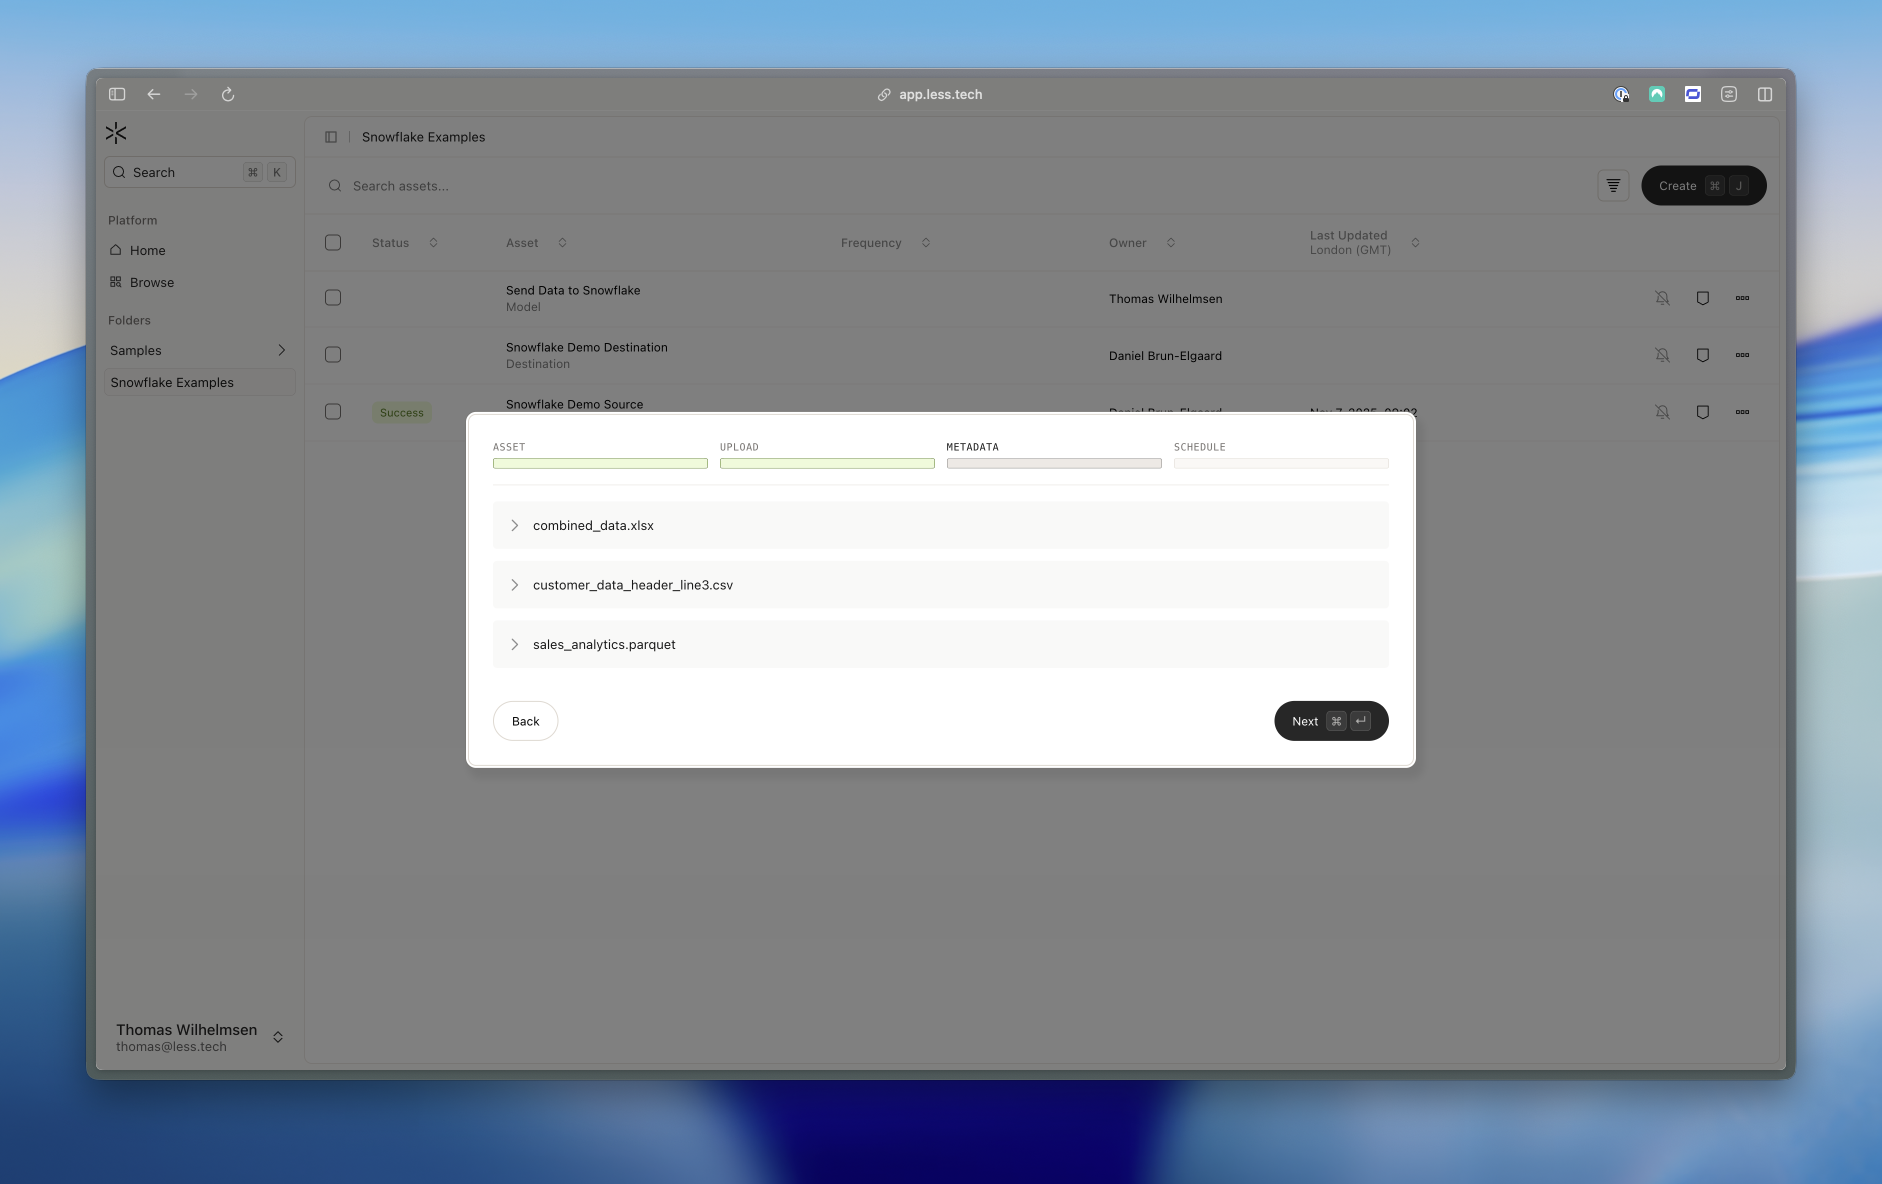 We scan each file to help you customize the extraction. We based this on the first 20 rows of the file.For CSV files, you can select the encoding, delimiter, skip rows and columns. The columns are based on the suggested skipped rows - i.e. if we suggest to skip 3 rows, the columns will be the first row after the skipped rows.For Excel files, you can select the sheet you want to extract. You can select more sheets if you want. For each sheet you can input the number of rows to skip and the columns to extract.For Parquet files, you can select the columns to extract.